Installation using the Installer
- Odysseas Pentakalos
Installation using the Installer
Starting with version 3.3.0 of OpenEMPI there is now a user-friendly installer that you can use to install the software. The same installer can be used to install both the community and commercial editions of the software and the installer can be used to install the software on both Linux and Windows machines.This page describes the step-by-step process for installing OpenEMPI using the installer on a Linux system. The processing for installing the software on a Windows systems is similar.
The installer is distributed as an executable jar file. In order to use the installer you must already have installed a Java version 8 JDK on your machine and the the JAVA_HOME environment variable must point to the distribution and the binary tools that are included in the JDK must be in your path.
To run the installer use the following command:
$ java -jar openempi-3.3.0-installer.jar
For later version of the software just substitute the correct full name of the distributed installer. You should now be presented with the Welcome screen of the installer.
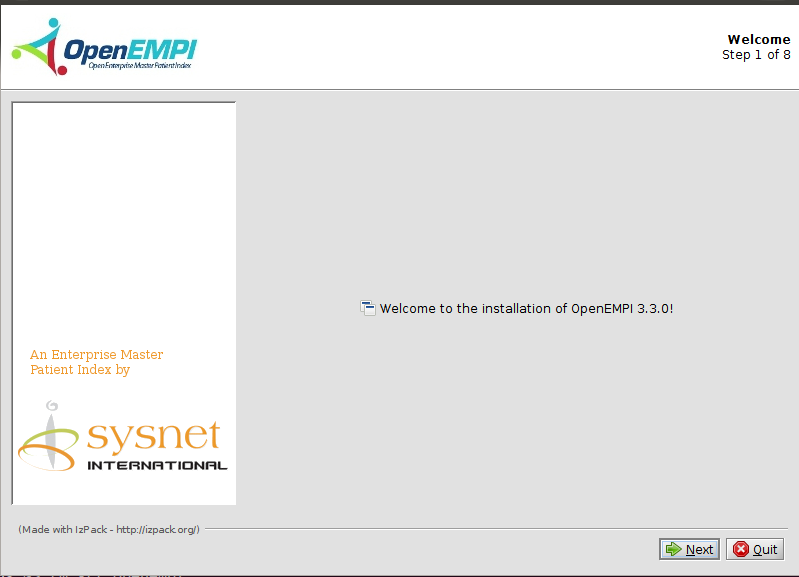
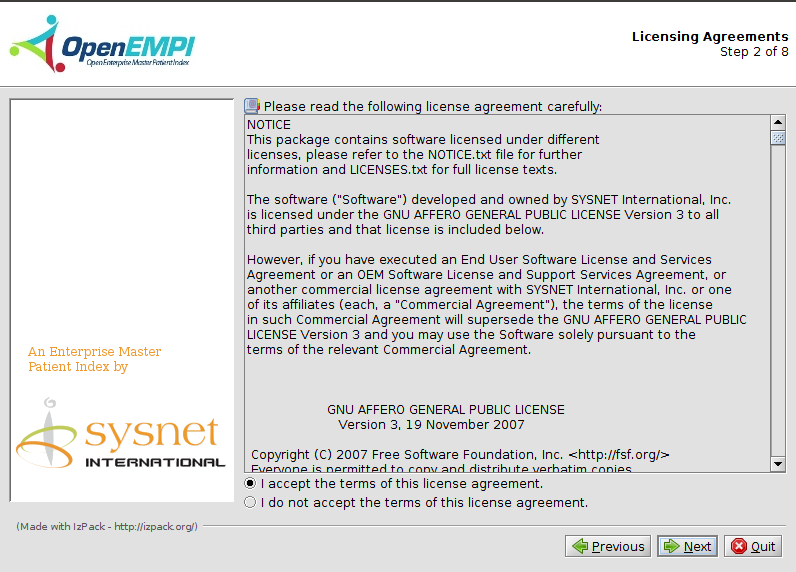
Press the "Next" button to go to the next screen where you are presented with the software license for the software.
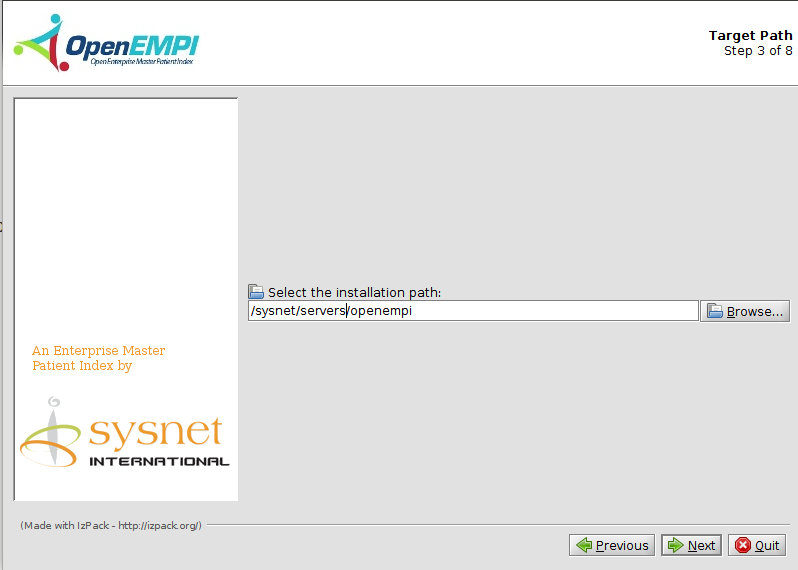
The next screen allows you to select the installation directory for OpenEMPI:
The next screen simply lists all the components that are part of the installation. Here you can select any optional components in the installation if any.
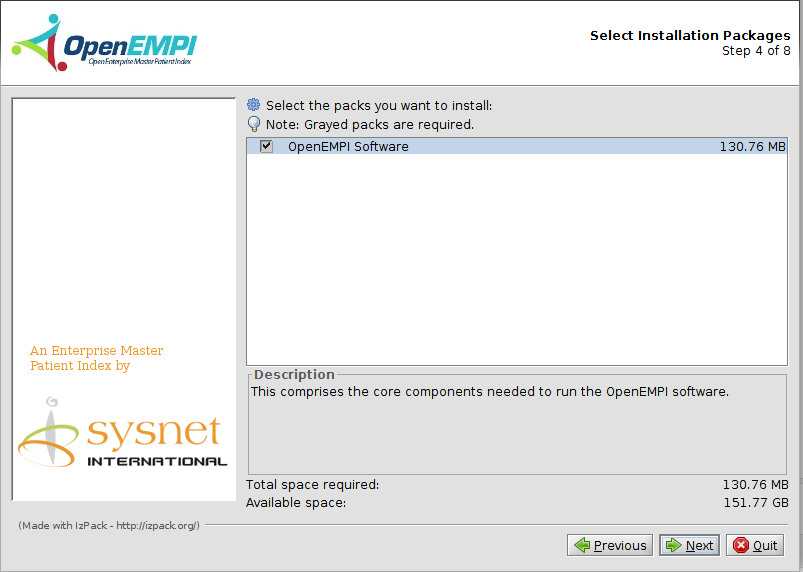
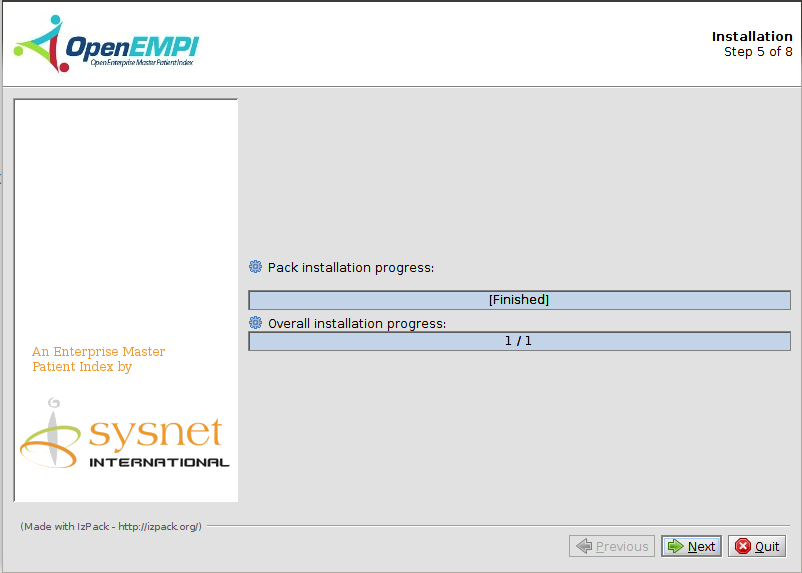
Pressing the "Next" button begins the installation of the software.
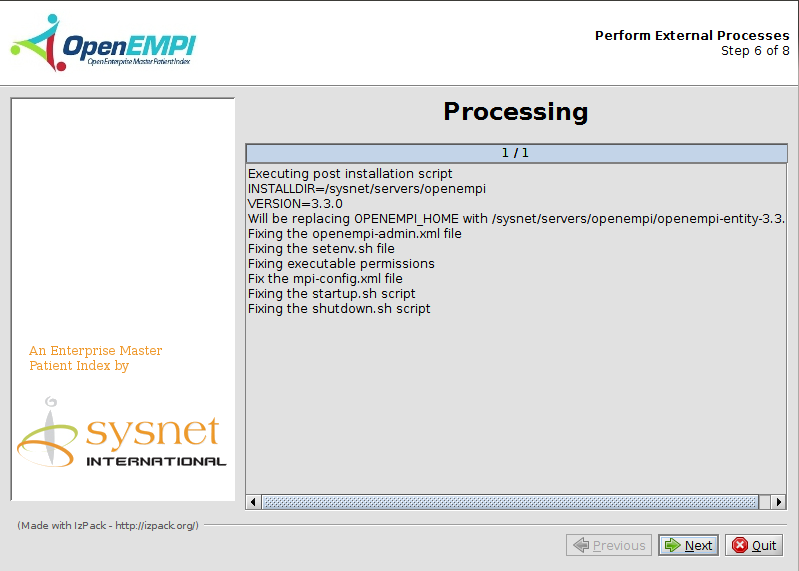
The next screen executes the script that customizes the installation for your selected
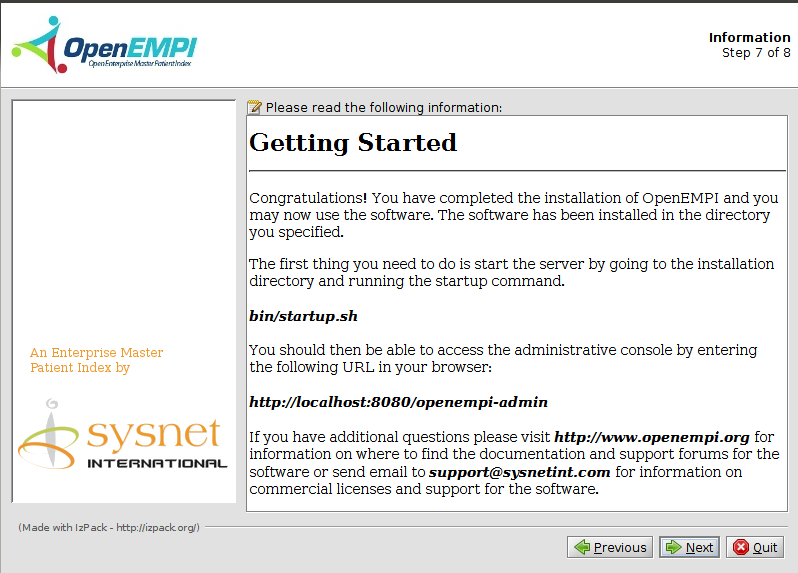
Pressing the "Next" button takes you to screen that shows you what are the next steps after completing the installation of the software.
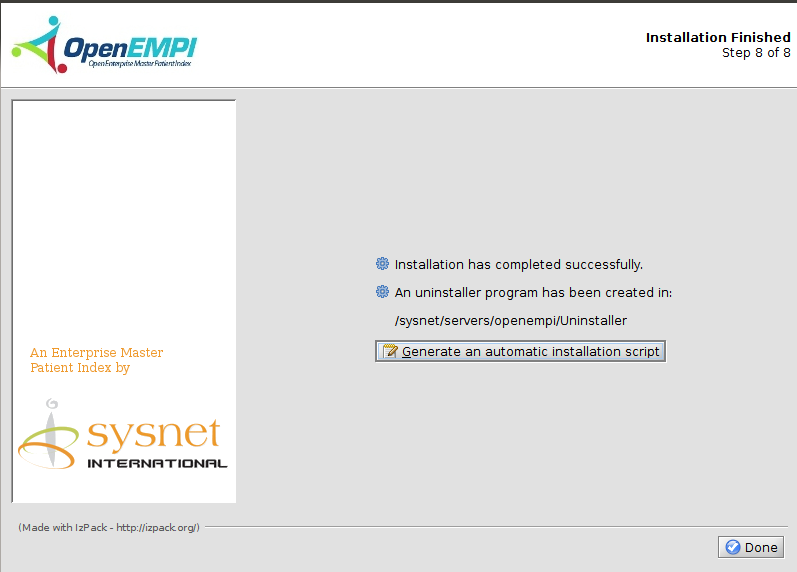
The last screen tells you how to uninstall the software using the auto-generated uninstaller. You can now press the "Done" button to exit the installer.
By default the installer will install OpenEMPI with the H2 database. If you have an existing Postgres instance that you would like to use or prefer to use the proven Postgres database for the instance you just installed, you can switch to using Postgres before starting the server. For instructions on how to setup Postgres follow the instructions here first. To modify your new instance of OpenEMPI to use Postgres you must modify the settings in the jdbc.properties file which is in the conf directory. The file should have the h2 driver enabled and the Postgres one disabled after the installation.
# jdbc.driverClassName=org.postgresql.Driver
# jdbc.url=jdbc\:postgresql\://localhost/openempi
jdbc.driverClassName=org.h2.Driver
jdbc.url=jdbc:h2:tcp\://localhost/openempidb
jdbc.username=openempi
jdbc.password=openempi
All you need to do is uncomment the Postgres driver and URL and comment out the h2. You may need to update the URL based on the settings of your instance of the Postgres database configuration and password for the database account.
jdbc.driverClassName=org.postgresql.Driver
jdbc.url=jdbc\:postgresql\://localhost/openempi
# jdbc.driverClassName=org.h2.Driver
# jdbc.url=jdbc:h2:tcp\://localhost/openempidb
jdbc.username=openempi
jdbc.password=openempi
If you have any questions or encounter any issues, please post a message in the user forum or you may reach us at support@sysnetint.com