Custom Field Configuration
- Wentong Ling (Unlicensed)
- Sophia
- Lee J (Unlicensed)
Owned by Wentong Ling (Unlicensed)
Last updated: Sept 02, 2015 by Sophia
OpenEMPI users that have the administrator role can use the Custom Field Configuration view to configure the custom fields. The configured custom fields can be used in the Blocking and Matching configuration for the Blocking and Matching algorithms.
To add custom fields
Note
A custom field is not added to the configuration until you save your settings on the Custom Fields Configuration window.
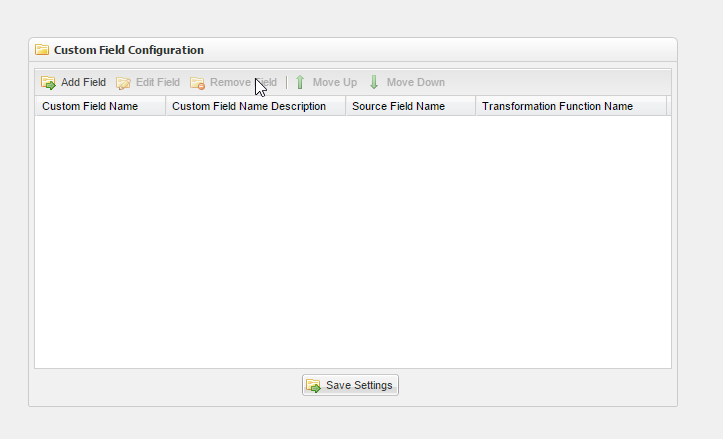
- Log into OpenEMPI and select Custom Field > Configure Fields from the menu. The Custom Field Configuration window is displayed, as shown in the following image:

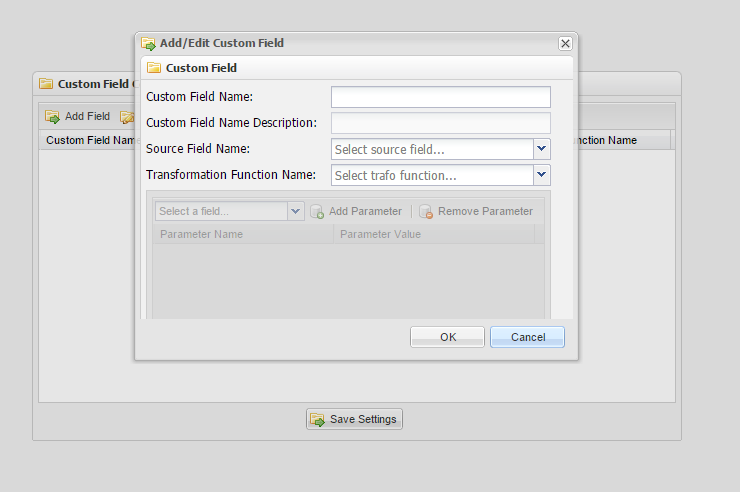
- To add a new custom field, click the Add Field button. The Add/Edit Custom FIeld dialog window is displayed with a list of empty data fields for the custom field.
- Select values for the following fields:
- Custom Field Name
- Custom Field Name Description
- Source Field Name
- Transformation Function Name.
To edit a custom field
Note
The changes you make to a custom field are not saved to the configuration until you save your settings on the Custom Field Configuration window.
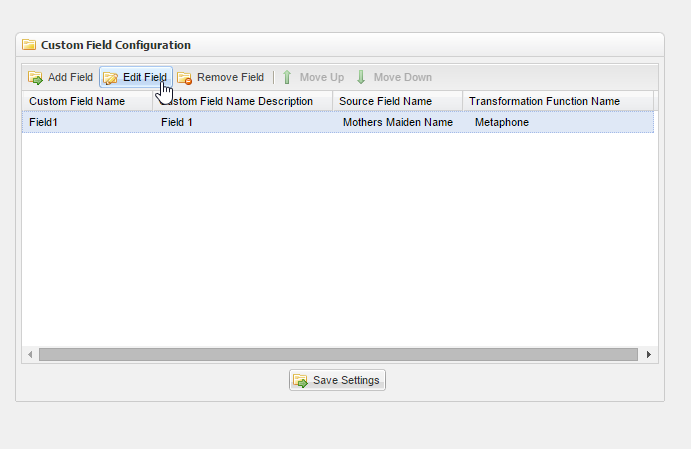
- Log into OpenEMPI and select Custom Fields > Configure Fields from the menu. The Custom Field Configuration window is displayed.
- Select the custom field you want to edit from the list, and then click the Edit Field button. The Add/Edit Custom Field dialog box is opens with the custom field information.
- Make your changes.
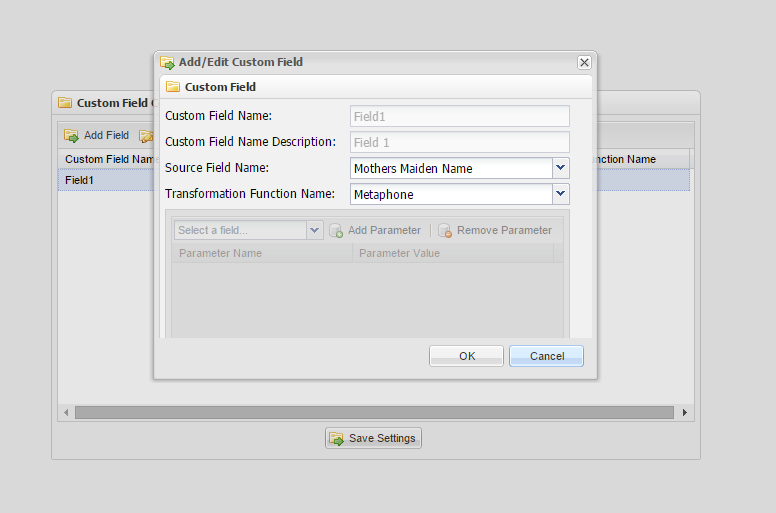
- Click OK .
To delete a custom field
Note
The custom field is not permanently deleted from the configuration until you save your settings on the Custom Fields Configuration window.
- Log into OpenEMPI and select Admin > Custom Fields Configuration from the menu. The Custom Fields Configuration window is displayed.
- Select the custom field you want to delete from the list.
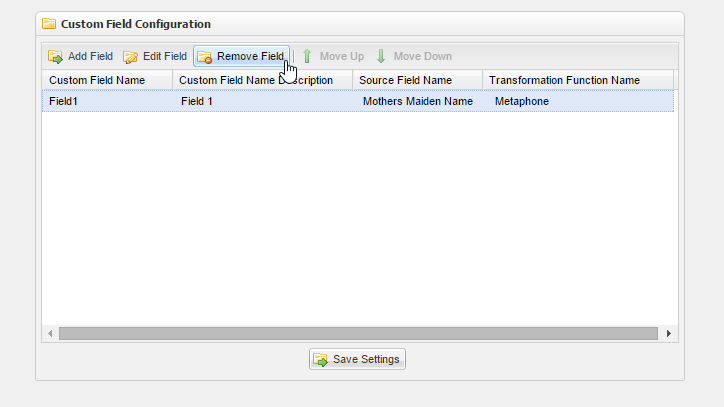
- Click the Remove Field button.
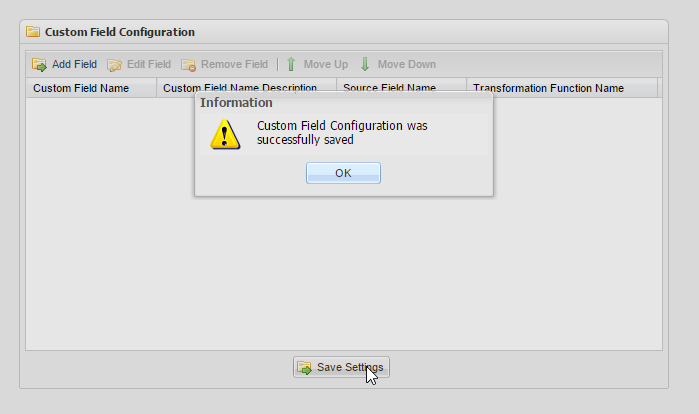
- Click Save Settings on the Custom Fields Configuration window. A message will appear confirming your actions.
, multiple selections available,